
EPDM Roof Installation: A Step-by-Step Guide
EPDM roofing is a synthetic rubber membrane designed to protect flat and low-slope roofs from water intrusion. However, the long-term performance of an EPDM roof depends on more than the quality of the membrane itself. Proper substrate preparation, the right attachment method, and careful sealing of seams and roof details are all essential to a reliable installation.
How is an EPDM membrane installed? Can it be installed over an existing roof, and which steps should never be skipped? This guide explains the installation process so you know what the work involves and what to look for when choosing a roofing contractor.
1. Inspecting the Roof and Assessing Its Condition
EPDM roof installation begins with an assessment of the existing roof. Before selecting materials or starting work, the contractor needs to determine whether the roof structure is suitable for the new membrane and whether repairs are necessary.
During the inspection, the contractor evaluates:
- The condition of the roof substrate and existing roofing layers
- Signs of damage, leaks, or moisture buildup
- Roof slope and drainage performance
- The condition of roof edges, flashing, and penetrations
- Whether the existing roofing needs to be removed or the substrate repaired
This assessment helps establish the scope of work and prevents existing problems from being covered up by a new membrane.
2. Preparing the Roof Substrate
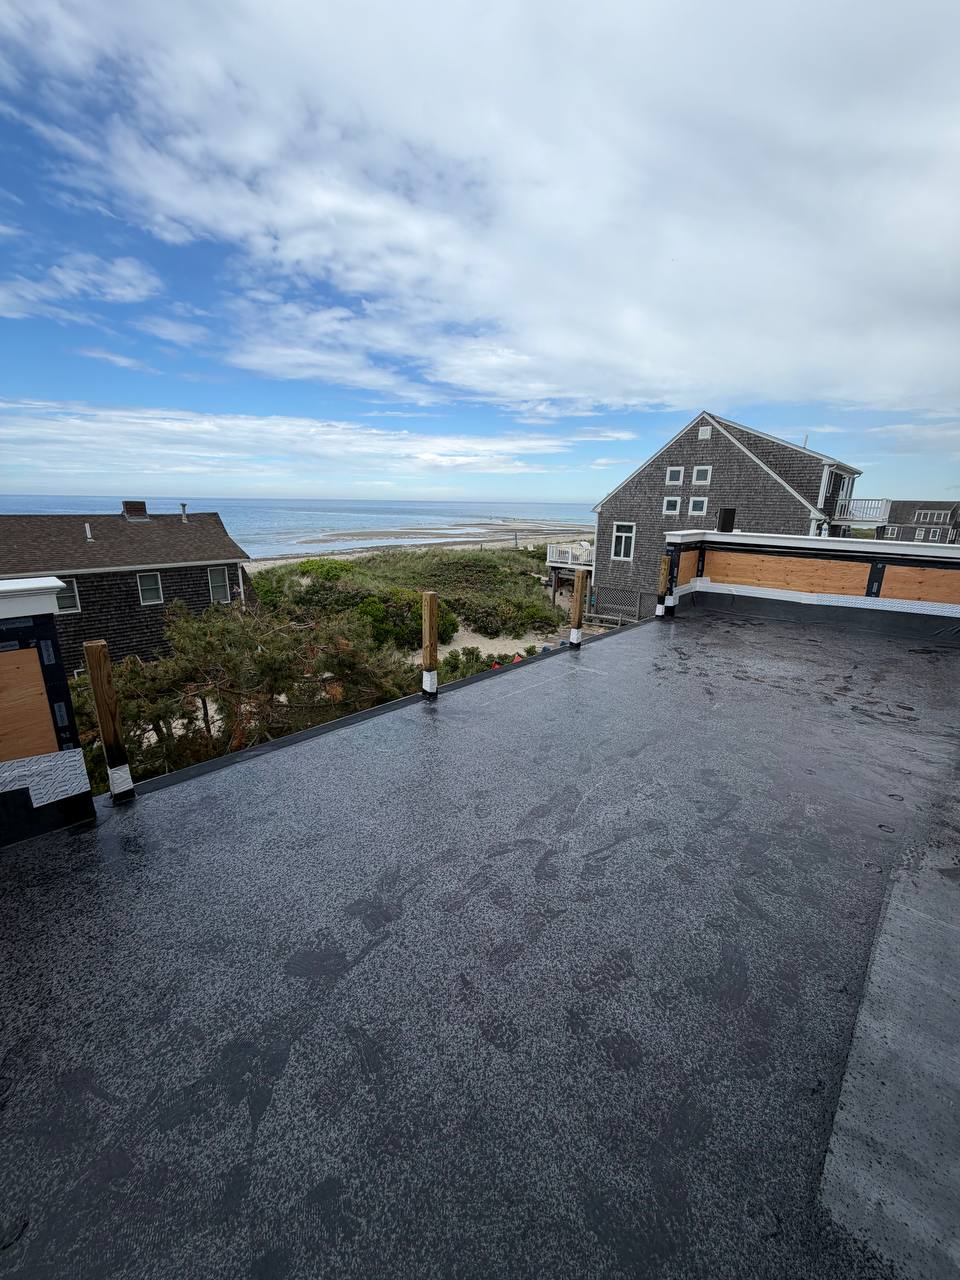
Before the EPDM membrane is installed, the roof surface must meet the requirements of the selected roofing system. The substrate must be suitable for installation, and damaged or moisture-affected areas must be addressed.
Depending on the roof's condition, preparation may involve removing the existing roofing, replacing damaged components, repairing the substrate, or installing the insulation layers required by the roofing system.
A complete tear-off is not always necessary. Whether EPDM can be installed over an existing roof depends on the condition of the existing materials, the roof assembly, the manufacturer's requirements, and applicable building codes.
Proper preparation is especially important for flat and low-slope roofs, where substrate defects and drainage problems can affect the performance of the entire roofing system.
3. Choosing an EPDM Membrane Attachment Method
EPDM membranes can be installed using several methods. The appropriate option depends on the roof structure, substrate, manufacturer's requirements, and expected service conditions.
Fully Adhered Systems
In a fully adhered system, the membrane is bonded to the prepared substrate using a compatible adhesive. This method secures the membrane across the designated roof area.
The quality of the installation depends on proper surface preparation, correct adhesive application, and careful detailing around seams and roof features.
Mechanically Attached Systems
With a mechanically attached system, the membrane or designated system components are secured to the roof using specialized fasteners. Their placement and fastening pattern must follow the roofing system's design and the manufacturer's specifications.
The roof structure and expected wind loads are important considerations when selecting this method.
Ballasted Systems
In some roof assemblies, EPDM is held in place by ballast, such as a specified layer of gravel. This approach is not suitable for every roof and requires an assessment of the structure's load capacity, wind exposure, and other technical considerations.
There is no single attachment method that works for every building. The choice should be based on the specific roof and roofing system, not simply on installation convenience.
4. Installing the EPDM Membrane
Once the substrate has been prepared and the attachment method selected, the EPDM membrane can be installed.
The membrane sheets are positioned according to the roof's dimensions, layout, penetrations, and the manufacturer's requirements. They must be laid out and secured carefully to avoid unwanted wrinkles, excessive tension, or damage.
If the roof requires multiple membrane sheets, particular attention must be paid to the joints between them. The surfaces need to be prepared correctly, and compatible seam-sealing materials must be used according to the installation specifications.
The layout must also account for drains, pipes, ventilation components, and other roof penetrations.
5. Sealing Seams, Roof Edges, and Flashing
The watertight performance of an EPDM roof depends not only on the integrity of the membrane but also on the quality of its connections and transitions.
Seams Between Membrane Sheets
When multiple sheets are used, they are joined with the seam tapes, primers, and other compatible materials specified for the roofing system. The surfaces must be prepared according to the manufacturer's instructions.
Improperly sealed seams can allow water to penetrate the roof, making this one of the most important stages of installation.
Wall and Structural Flashing
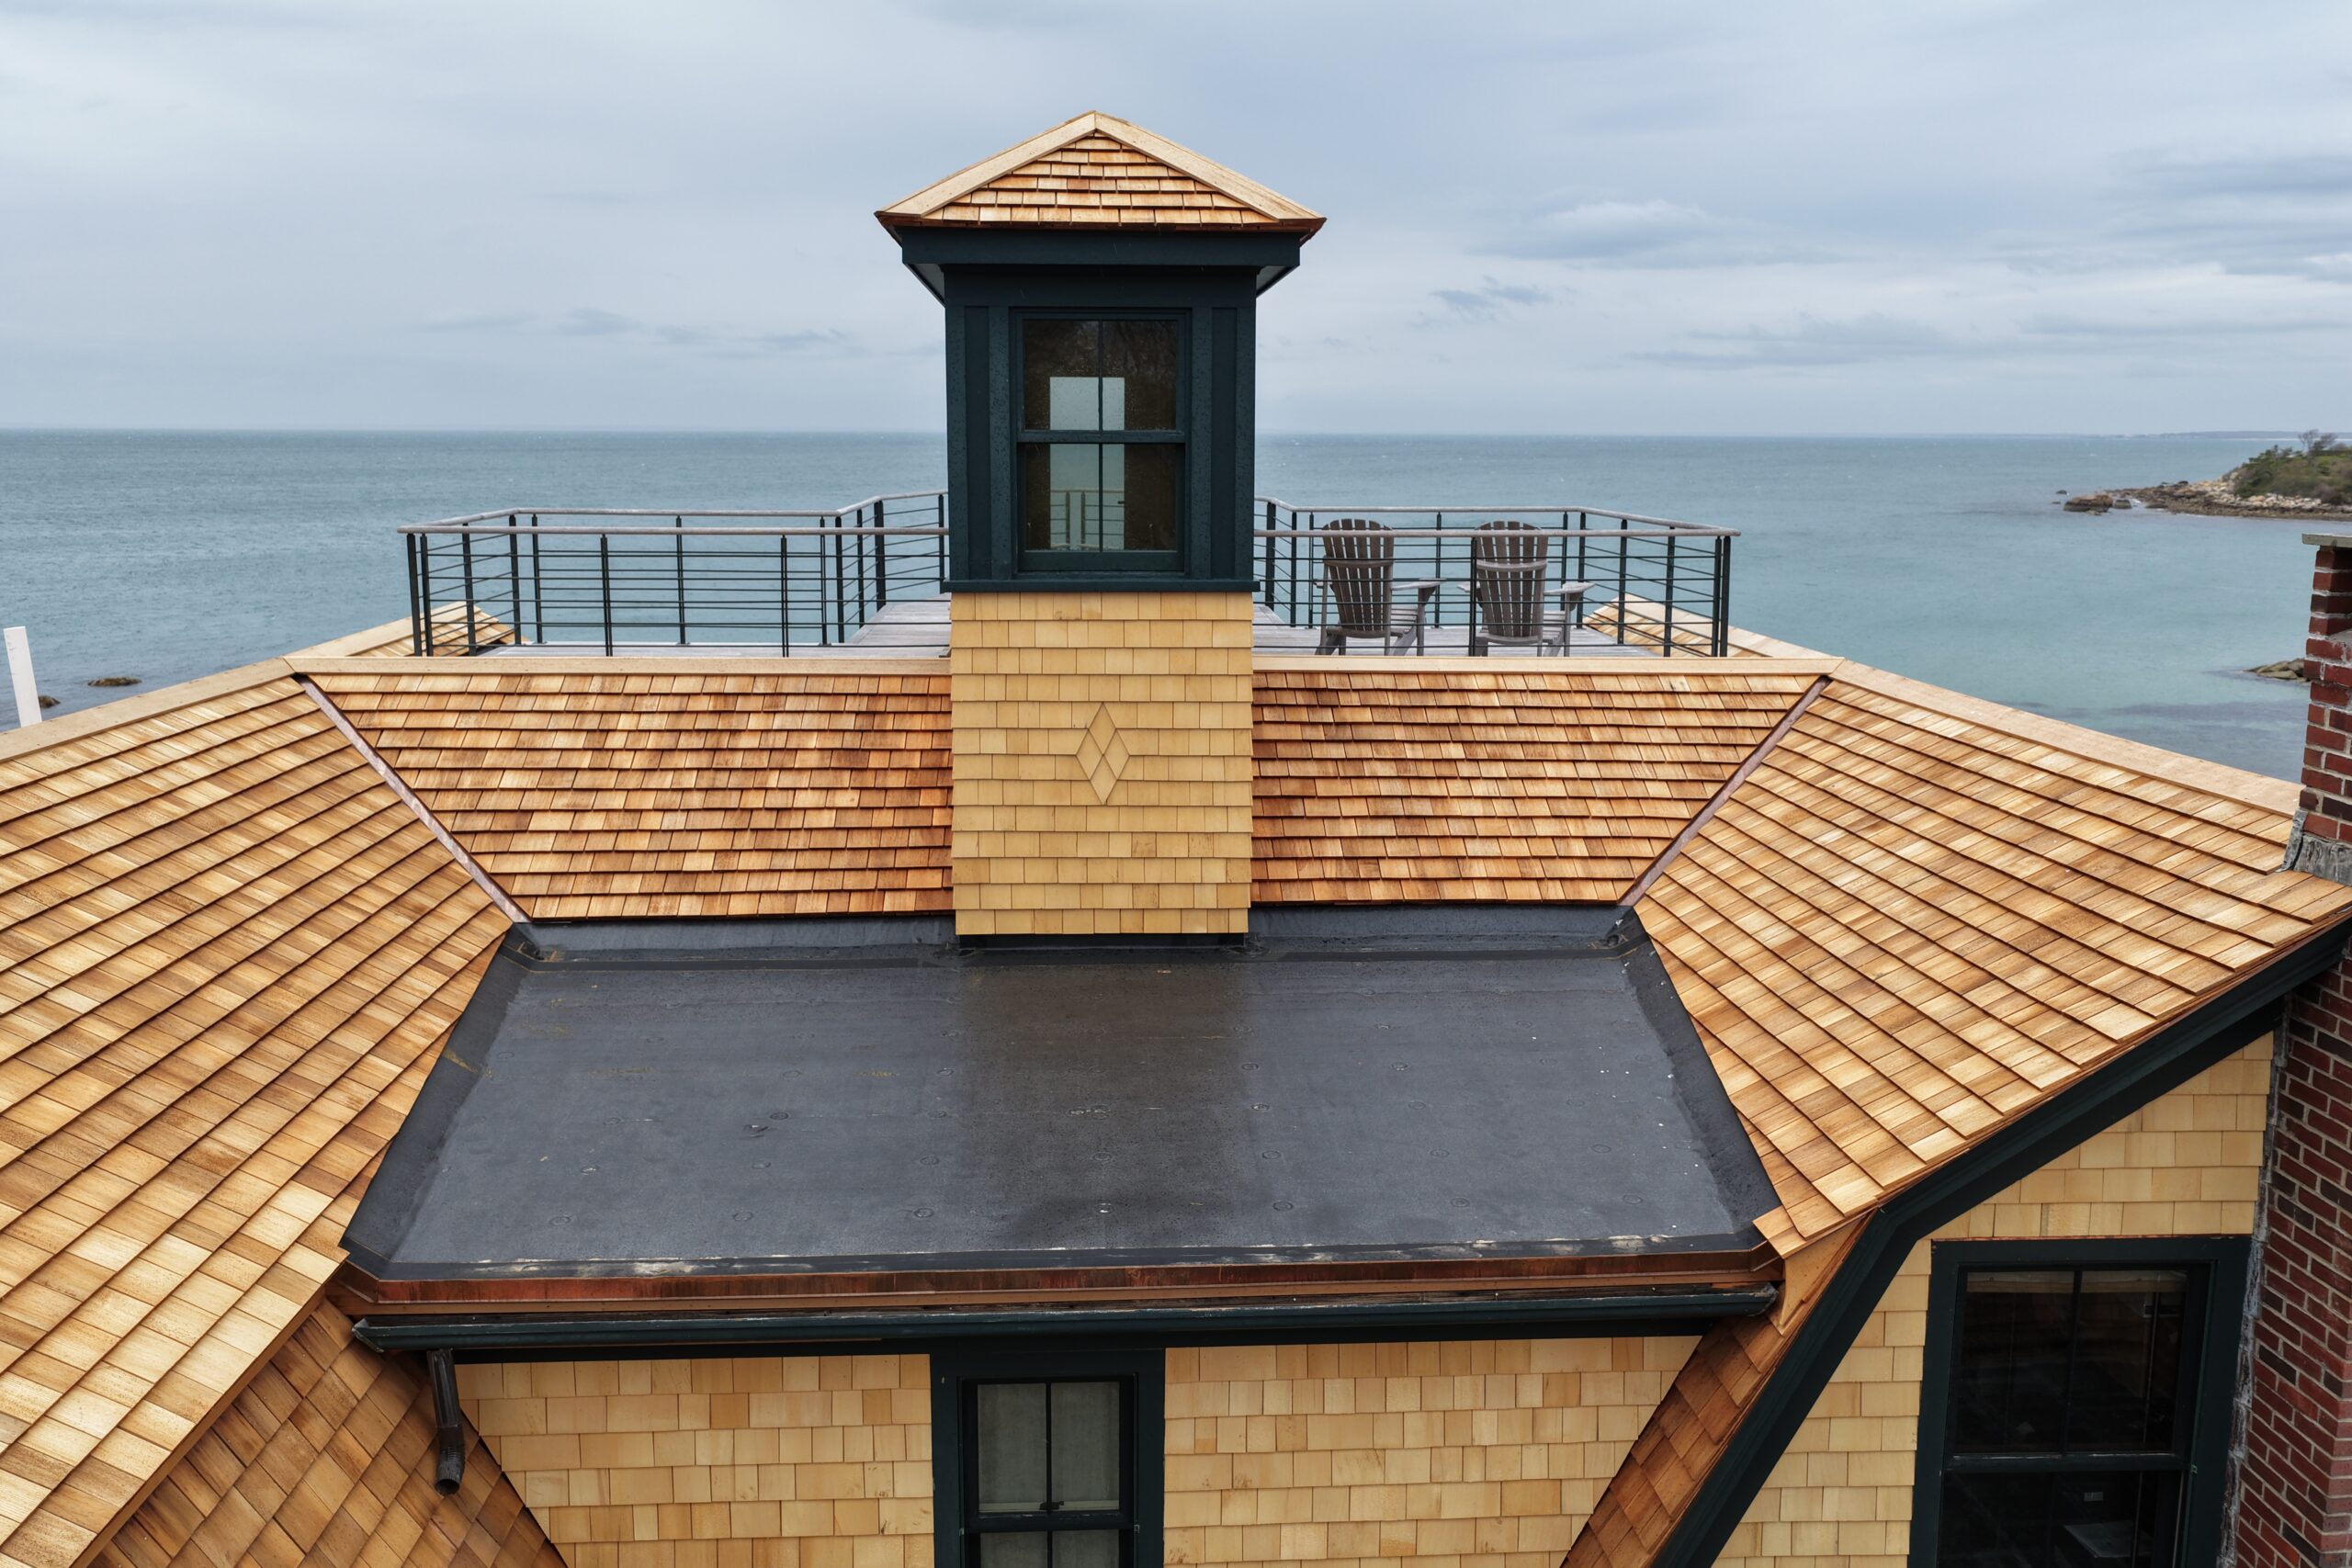
Where the roof meets walls, parapets, and other vertical surfaces, the transitions require careful detailing. Appropriate flashing components and compatible materials must be installed according to the selected system.
Pipes and Other Roof Penetrations
Areas around plumbing vents, ventilation outlets, and other penetrations must be sealed to suit their shape and location. Poorly detailed penetrations can compromise the watertight integrity of the entire roof.
Roof Perimeters
The roof perimeter must also be properly secured and finished. Corners and edges deserve particular attention because they can be especially exposed to wind forces.
Correctly installed seams, flashing, and perimeter details help preserve the integrity of the roofing system and reduce the risk of leaks.
6. Checking Roof Drainage
After the membrane has been installed, the roof's drainage system should be checked to ensure it is appropriate for the roof design.
This includes assessing drains, drainage outlets, and other components of the system. If water consistently collects in certain areas, the underlying cause should be identified and addressed where possible as part of the project.
EPDM provides a waterproof layer, but it does not replace a properly designed drainage system. Drainage therefore needs to be part of the overall installation quality check.
7. Conducting a Final Roof Inspection
Before the project is completed, the contractor should inspect the installed membrane and the main components of the roofing system.
The inspection may include checking:
- The membrane for visible damage or defects
- Seams between membrane sheets
- Flashing around pipes, roof penetrations, and adjoining structures
- Roof edge attachment and perimeter detailing
- Drains and other drainage components
- Compliance with the requirements of the selected roofing system
Any identified defects should be corrected before the work is considered complete.
Can EPDM Be Installed Over an Existing Roof?
In some cases, yes. However, the decision depends on the condition of the existing roofing and the entire roof assembly.
If the existing roof contains trapped moisture, damaged materials, or other defects, those issues need to be assessed before installation. Installing a new membrane over a compromised substrate may conceal existing problems without resolving them.
The contractor should determine whether an overlay is appropriate for the specific roof, whether it meets the manufacturer's requirements and applicable building codes, and whether it could create additional moisture, loading, or drainage concerns.
For this reason, installing EPDM over an existing roof should be considered only after the roof has been inspected. It is not a standard solution for every building.
What Affects the Quality of EPDM Roof Installation?
Even a high-quality membrane cannot guarantee a reliable roof without proper installation. Several factors influence the final result:
- Substrate condition. The surface must be suitable for the selected system, and existing damage must be addressed.
- Attachment method. The chosen method must suit the roof structure and expected service conditions.
- Seam and flashing quality. Joints, roof edges, and transitions must be installed according to the required specifications.
- Drainage. The roof must have an effective way to direct water away from the surface.
- Material compatibility. Adhesives, seam tapes, fasteners, and other components must be compatible with the selected membrane.
- Manufacturer specifications. Installation methods and detailing requirements vary by roofing system.
Together, these factors determine how well an EPDM roof performs after installation.
Need EPDM Roof Installation on Cape Cod or the South Shore?
EPDM can be a practical solution for flat and low-slope roofs when the membrane is appropriate for the building and the installation accounts for substrate condition, drainage, and the requirements of the selected roofing system.
ANPoint Exteriors provides roofing services for homeowners across Cape Cod and the South Shore, Massachusetts. If you are considering EPDM for your home, garage, or addition, an assessment of the existing roof can help identify the necessary preparation and determine an appropriate installation approach.
Contact ANPoint Exteriors to discuss your project and find out whether EPDM roofing is right for your roof.